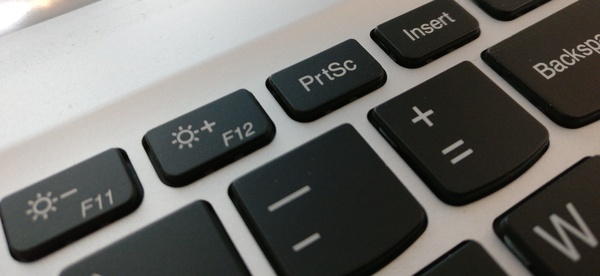
Windows 10 of course offers screenshots out of the box, but there's more to it nowadays than just the Print Screen (PrtScn, PrtSc, PrintScr, etc) button. Here are a handful different ways you can take advantage of Windows 10's screenshot functions.
1) Perhaps the most known screenshot function in Windows is pressing simply the Print Screen button (sometimes with the addition of Function (fn) button) on your keyboard. This saves the entire, current, desktop view to the clipboard. You can then paste the picture to programs like Paint, and edit it as you see fit.
2) By pressing both Windows button and Print Screen simultaneously you can save the view as is to your computer's hard drive without having to edit or name it. Pictures are automatically saved to your Screenshots folder under Pictures.
3) You can take a screenshot of a single window by selecting the windows and pressing Alt and Print Screen buttons simultaneously. The picture of the windows is saved on your clipboard where you can paste it to your preferred graphics editor.
4) If you are using a Windows tablet or other Windows device without a keyboard, you can still take a screenshot. Press Windows button and volume down button simultaneously and the device will save a screenshot in the Screenshots folder in the Pictures folder, just like on a PC.
5) To take a rectangle screenshot of your choosing from anywhere on the screen, press Windows + Shift + S. A cursor will appear and you can drag the part of the screen to be captured. The picture will again be saved on your clipboard where you can paste it out.
6) If you need more options, such as different shaped screenshots, editing options, delayed captures or marking tools, you might want to try a program called Snipping Tool that comes with Windows 10. You can find it by pressing the Windows button and writing Snipping Tool.
7) You you'd like to take a screen capture while playing the game, you can use Windows 10's Xbox app to take a screenshot. You can launch Game Bar by pressing Windows + G, and you can take a capture by pressing the camera icon (or Windows + Alt + PrtSc in game). These captures only include the game window and are saved to Captures folder that is found under Videos folder.
If none of these ways quite satisfy your need for screenshots, there are a lot of third-party option available for Windows 10. You can find screen capture software here.
Written by: Matti Robinson @ 19 Jan 2019 11:34
