Burn APE files to Audio CD with Nero
 In this article, we will look at the process of burning APE audio files as Audio CDs using Nero Burning ROM and a plug-in available from AfterDawn. APE audio is popular among users who prefer the better sound of lossless audio. APE is comparable to s everal other lossless formats such as FLAC.
 Introduction & Requirements
Nero Burning ROM ---> Download and install the Nero Burning ROM package.
Nero APE Plug-in ---> Download the Audio Plugin for APE audio from this page.
WinRAR ---> You need WinRAR to open and extract the Plugin from the archive.
What is Monkey's Audio / APE?
Monkey's Audio is a popular lossless audio codec used to create very high quality versions of audio files. Since it is lossless, if you were to compress an entire audio CD to APE files using Monkey's Audio, you would be losing no quality whatsoever, and could technically reconstruct the original CD-Audio completely. Compare that to lossy compression formats such as MP3, OGG Vorbis or Musepack (MPC). Once of the biggest differences you notice immediately is the file size difference; APE files are generally much larger.
Monkey's Audio is proprietary software and such you don't see support for APE files in many players that would would normally expect to see support in (such as VLC media player).
Get & Open Nero Plugin
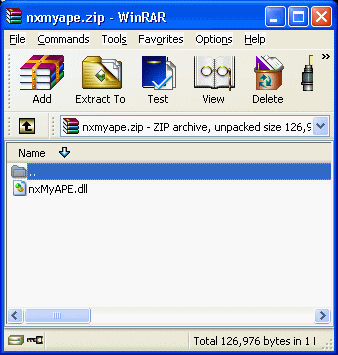 Open the Nero APE Plug-in with WinRAR. The file nxMyApe.dll is what is needed to add support for Monkey's Audio to Nero products. Therefore it must be extracted into the Nero Audio Plugins folder, which is generally located at..
c:\Program Files\Common Files\Ahead\AudioPlugins
Your Windows installation may not be drive C:, so change the drive accordingly.
Copy to Nero Audio Plug-in Folder
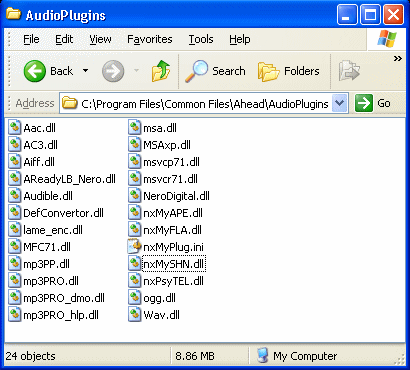 Simply click the nxMySHN.dll file in WinRAR and drag it over this folder and then drop it in, as shown in the picture.You must now restart any Nero products you might have running for the Plug-In to be loaded.
 Open Nero Burning ROM
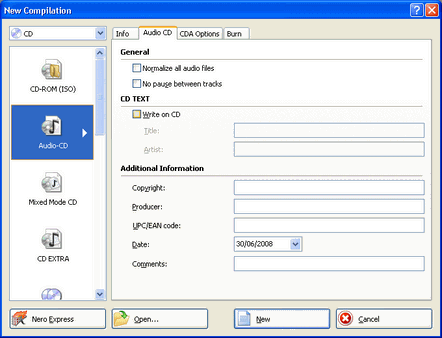 Open the Nero Burning ROM application from its Program entry in the Start Menu (Nero Burning ROM is usually found under Data).
You now must create an Audio-CD compilation. From the New Compilation window (File - New Compilation, if it doesn't come up automatically), make sure you have CD set in the top left hand corner and NOT DVD.
Select CD and then choose Audio-CD. Click New.
New Compilation
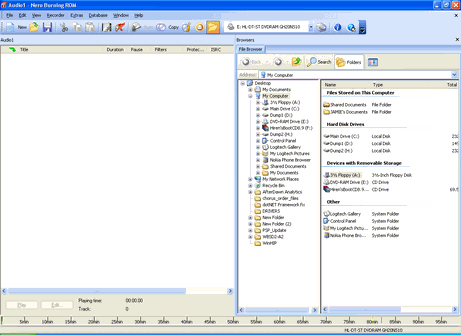 Nero Burning ROM's interface could not be easily. On the left is the (now empty) compilation window where you can add files that will be burned as Audio Tracks to CD. On the right is a file browser so you can locate your Audio Files.
 Locate APE files to Burn
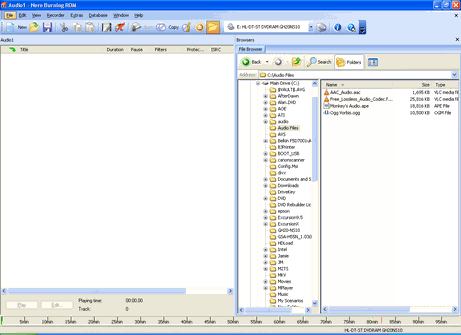 Using the File Browser on the right of the program, find a bunch of APE files you want to burn, or any other files that are supported by Nero (or you have downloaded a Plug-in for).
 Add to Compilation
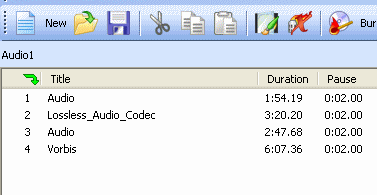 To Add Files to the Audio CD compilation, drag and drop them from the File Browser or Windows Explorer into the empty Compilation Window on the left hand side of Nero Burning ROM. Alternatively, right-click a file in the File Browser and click "Add to Compilation".
 Burn Compilation
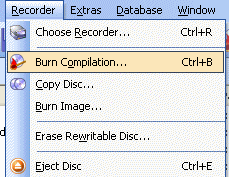 When you have added all the tracks you need, click Recorder --> Burn Compilation, or tap CTRL + B.
 Select Write Speed
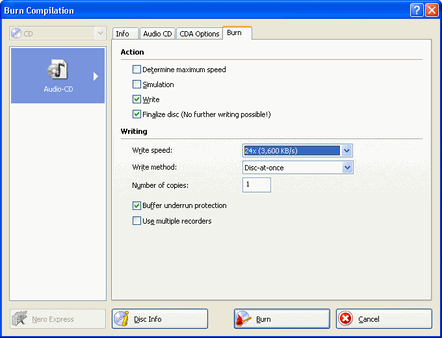 Now you can set the maximum Write Speed. Remember to keep speed lower than the maximum that your drive and media can handle to avoid errors.
 Burning Process
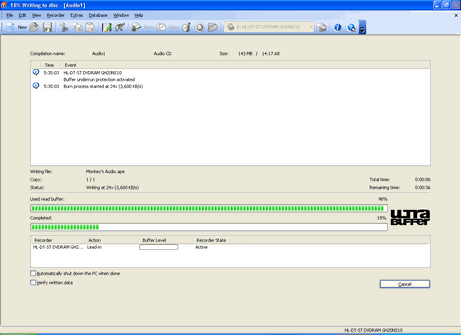 Depending on how much data has to be burned and the Write Speed set, this process will now take several minutes.
 Success?
 When the program finishes up, you will have a message pop-up alerting you of a successful burn.
 Finally
This article set out to show you how to burn APE files to Audio CDs with Nero Burning ROM, arguably the most popular burning software suite in the world. If you experience any problems please visit our Discussion Forums and ask for help.
Version History
v1.0 --- First Version Online -- Dela (24/07/2008)
