
| Complete Nero Vision 5 AVCHD Authoring Guide | You are viewing Page 3 of 4 -- Go to page , 1 , 2 , 4 , |
Input file, menu creation, editing
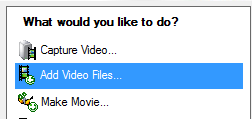
Ok, so it is finally time to input the file and get this project started. Hit the Add Video files button and navigate to where your file is.

If it is an MKV file you will have to change the dropdown option to All files (*.*) as MKV is not natively supported. Hit Open and you will be led back to the content screen again.
Editing
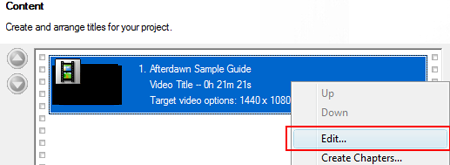
Nero Vision has the option to edit your video files and add transitions and other effects so we will explore that for a minute. Right click on your video file and hit Edit.
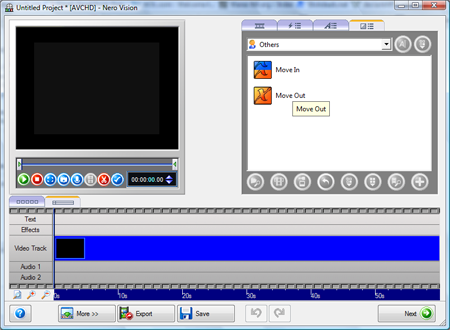
The first thing you should be aware of is how to get tool tips. Holding your mouse pointer over an option, whether it's a button, checkbox, or dropdown, will give you a tool tip that will hopefully answer any basic questions you have about it. At the top left of the window is a player that you can use to preview your project. To the right of that is an area with several tabs at the top. The left-most tab is where you select video and audio assets for your project. The next tab is a selection of video filters (effects). The third tab has text effects for subpicture streams, and the one on the far right has transition effects for transitions between imported clips.
The middle portion of the window is where the Timeline and Storyboard are. The storyboard is simply a list of clips in the order they appear on the timeline and the transitions that fall between them. The Timeline is a standard feature of visual editors which shows not only where each object is relative to each other, but also where they are relative to the beginning of the project. You'll also see a More button at the lower left of the window. Clicking this will reveal some options that are normally hidden. They aren't things you need to look at every time you work on a project, but they are important to be able to find and change. (Thanks Vurbal)
Once you are done editing your files to your liking, hit Next and you will be back at the content screen.
Once you are there, hit Next again to get to the Edit Menu page.
Menu Creation
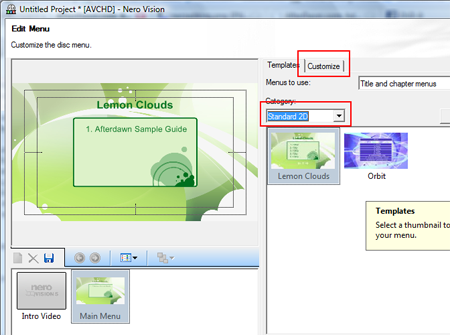
The Menu editing section is where you can have fun and be creative. Start off by hitting Standard 2D. There will only be two templates there if it is your first time, but you can download more by hitting the More templates button to the right of Standard 2D.
Once you have found one you like select it and then edit the type by double clicking on it and changing it to whatever you want it to say. Once you are done with that, hit Customize. This is where you can really get creative so I will not have much instruction here, just a basic outline of what can be done :)
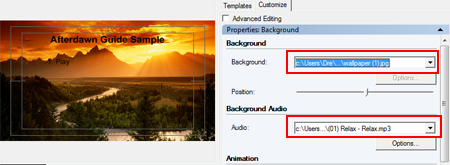
Adding background and music and editing text
If you click anywhere on the background of the menu (getting off the text) then you will have the option to add music and a custom background. For the background I have navigated down to picture file and found a nice wallpaper I have to use as the background. For audio I have hit Custom and selected a nice "relaxing" tune.
Editing text
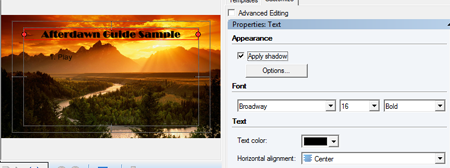
To edit the text, double click on the text again, and the options on the right will change again. You will now have the ability to change the font, the size of the font, the format of the font (italic, bold, etc) and its alignment on the page.
Once you are done with creating your menu, make sure to hit Save and then Next to move onto the next step. On the following page we will preview our output file and finally get to encoding and burning.
| Complete Nero Vision 5 AVCHD Authoring Guide | You are viewing Page 3 of 4 -- Go to page , 1 , 2 , 4 , |