
Removing the current hard drive
HDD Cover
OK, first take your PS3 shut it down completely by hitting the on/off switch in the back. Once the red standby light goes off, disconnect all cables (power, HDMI, component, etc) and remove any drives/memory cards you may have in the USB ports.
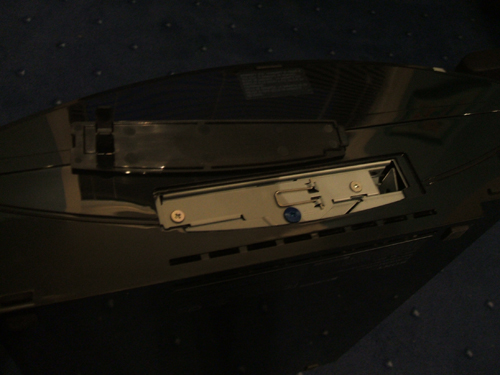
Place the console in a nice clean area, (a hard surface is recommended but not necessary) and turn it on its side. You will see the HDD cover. Remove this by placing your finger in the small crevice to the right of the cover and pulling out and up. Once opened, as pictured to the right, you will see the hard drive bay held in by one blue screw.
Take out your screwdriver and carefully remove the one blue screw and set it aside. Make sure not to lose it because you will need it to secure the bay again later.
Removing the HDD Bay
<--Pull the drive out
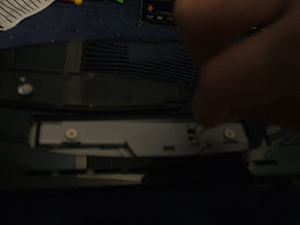
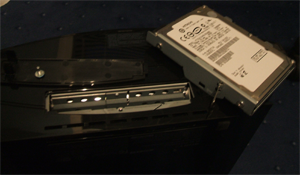
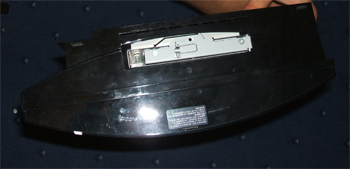
Now that the screw is out, move the metal handle to the center position (facing up towards you) and pull the drive softly to the right. You should hear it release from the connectors and once it is completely out, you can pull the drive out completely. --> PS3 with drive out
Removing the current drive from the bay
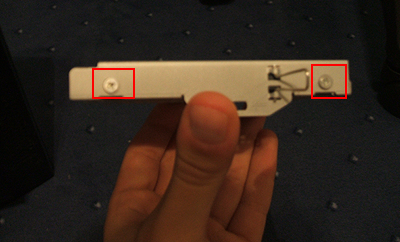
Now that you have the drive out, there are four screws that are securing it into the metal bay. NOTE: These screws are cheap and will strip if not using a Phillips head or if you mess up too much. However, if you strip them, Sony will send you a new set of screws and bay free of charge. I will leave the phone number later in this guide.
Remove all four screws (two are pictured, the other two are on the other side in the same place as the pictured two) and put them aside in a safe place (preferably with the blue screw).
Now carefully remove the drive itself from the bay and place it aside in a place where the bottom circuit board is protected and where it is not too hot or cold. If you have an external drive enclosure, now may be a good time to put the drive in there. Remember the default drive must be put back in if your PS3 ever needs repairs so it is important to keep it.
Adding the new drive
Now comes the easier part. Adding the new drive itself. With the label up and the SATA connectors out, replace the drive in the cage and carefully secure it back in with the four screws you removed before.
Put the bay back in the PS3 and this time move it back to the left making sure you hear the SATA connectors all connect and the bay is secure. Push the metal handle back to its side and screw in the blue screw to keep the bay in check.
Replace the HDD cover and you are all done replacing the drive, from a hardware standpoint.
On the next page, we will go over all post-installation processes, including formatting the new drive and bringing all your game saves back.