| Split CD Images To Individual Tracks | Viewing Page 4 of 4 -- Go To |
Split CD Image
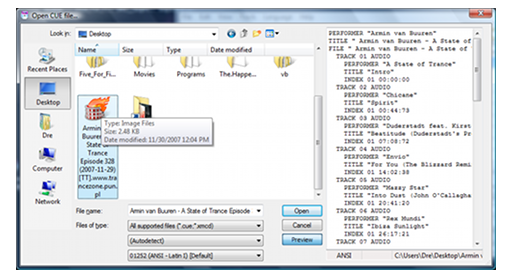
You're finally ready to start splitting your CD images. Select Open CUE file from the File menu. Alternatively you can simply drop your CUE file onto the program Window. You should see the track information on the right side of the window. This confirms it's a valid CUE file.
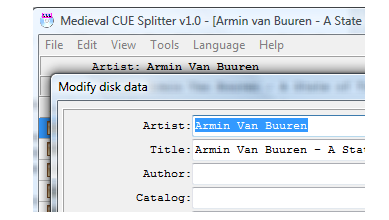
Album Information
You can modify the album Artist and Title by simply clicking on one of them and using the Modify disk data dialog. This information will be copied into any filenames or tags (ID3, FLAC, or APE) in your new files.
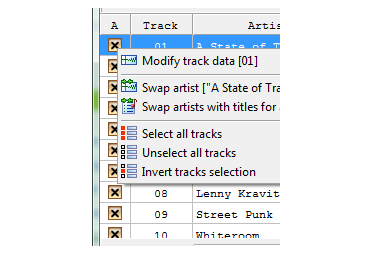
Select Tracks
The checkboxes to the left of each track indicate whether it will be included in the split. Unselected tracks will be split. You click one of the boxes to change the status of a single file or right-click on a file to change the status of multiple files.
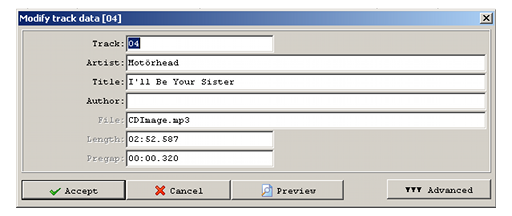
Track Information
You can modify track information by double clicking on the track name and using the Modify track data dialog.

Year and Genre
The Year and Genre informatio can be changed or added below the track listing.
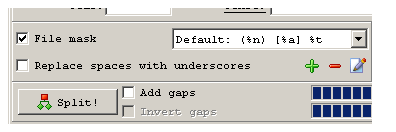
Select File Mask
If you're using more than one file mask make sure to select the one you want to use. You can also choose to have spaces converted to _ (underscore) characters. Click the Split button to begin creating your new files
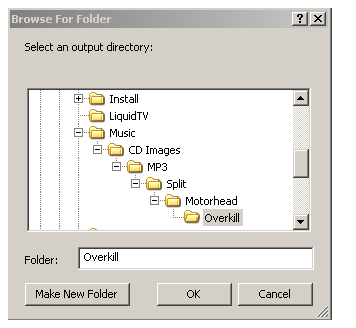
Select the folder where you want your new files created.
| Learn how to create MP3 files | |||||
| Convert APE to MP3 | Convert FLAC to MP3 | Convert SHN to MP3 | |||
| Convert AAC / M4A to MP3 | Convert OGG to MP3 | ||||
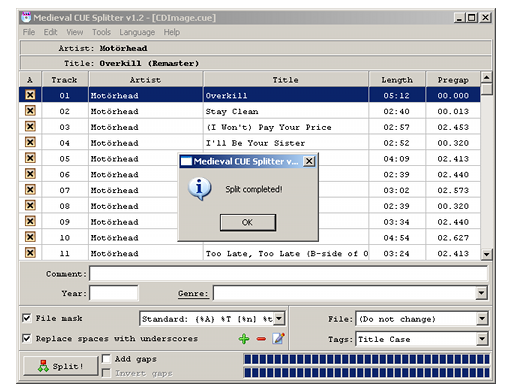
After your new audio files are created you'll get a popup window. Now you can listen to your separated tracks in the media player of your choice.
| Split CD Images To Individual Tracks | Viewing Page 4 of 4 -- Go To |
Version History
v1.0 2009.01.31 MP3 Splitting guide by Andre Yoskowitz
v2.0 2009.01.31 Detailed configuration, tag mask, and file mask info added, layout updated by Rich FiscusTable of Contents
- Introduction
- Configuration
- File Mask
- Split CD Image
